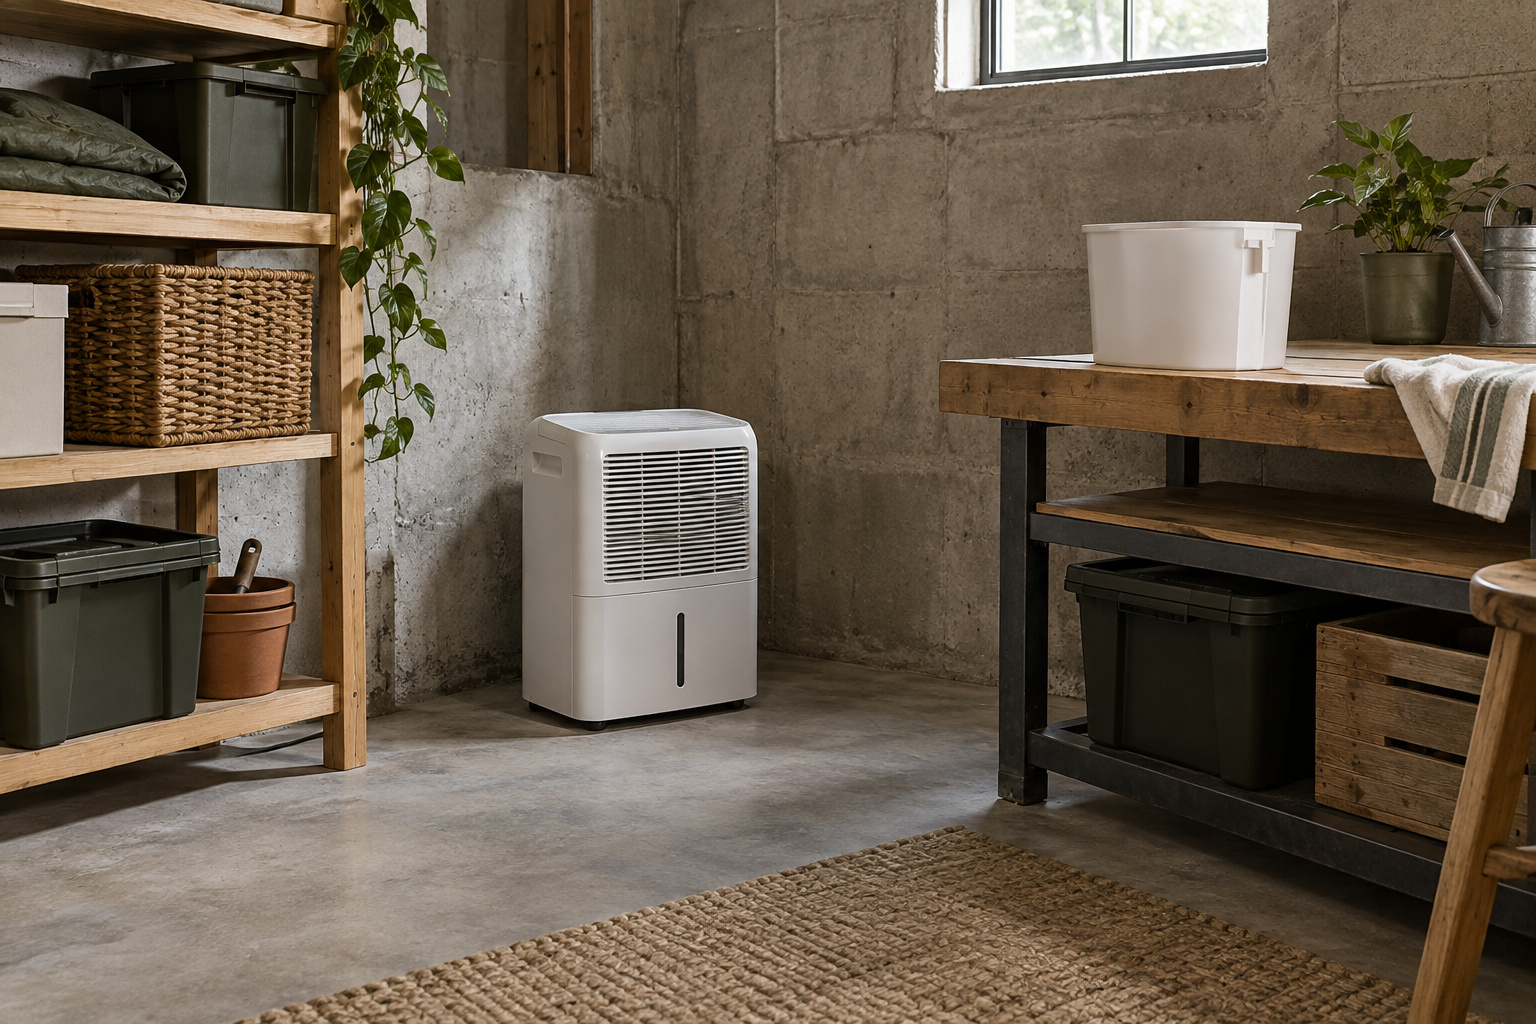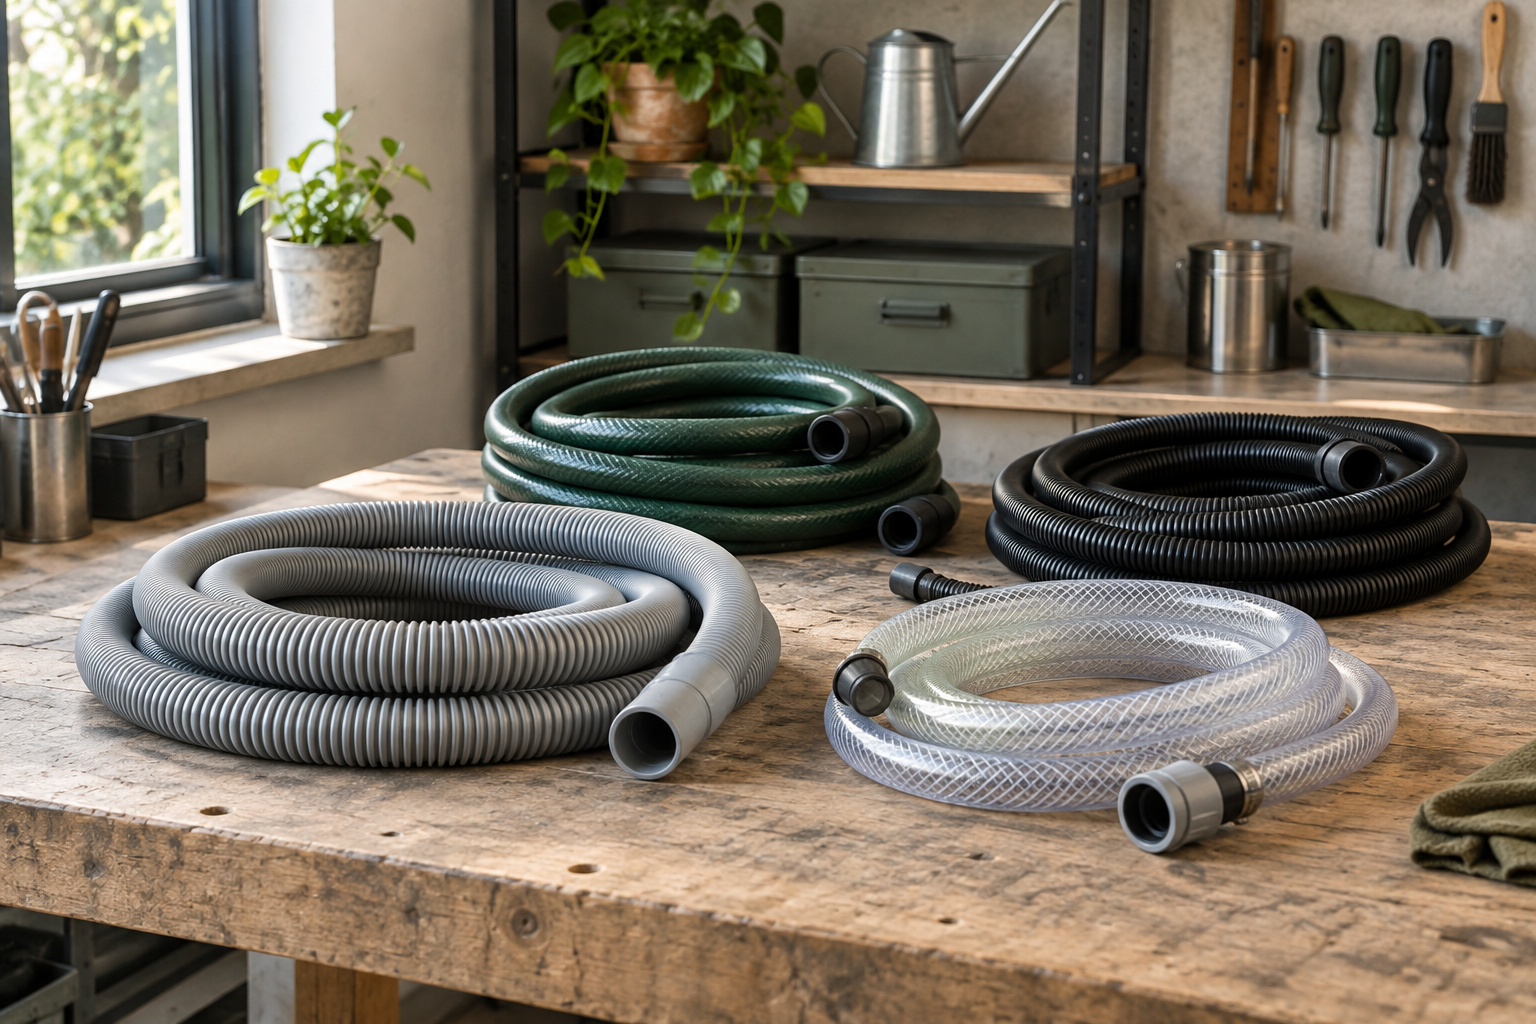
Continuous drainage is useful only when the complete route works. Start at the appliance outlet, follow the hose to its destination and ask whether water can travel that path as intended. The difference between gravity and pumping is not a minor convenience label: it changes the connections, setup checks and failure points you need to understand.
Sketch the route before shopping
Mark:
- Position: the intended appliance position.
- Outlet height
- Destination: the drain destination.
- Obstacles: anything the hose would need to cross.
A photograph can help, but include approximate measurements and note whether the destination is above or below the appliance. Keep walking paths and electrical connections on the sketch. Do not improvise a discharge into a fixture or building drain without checking that the connection and disposal arrangement are appropriate.
Think about inspection as well as installation. Can you see the entire hose, reach the fitting and notice a leak? A route hidden behind packed storage is harder to maintain. Our placement guide helps balance drainage with airflow and service access rather than treating the nearest corner as the only possible location.
Match the route to the drainage method
- Lower destination with a continuous downhill route: investigate the gravity connection and required fitting.
- Discharge must rise: investigate a pump only after checking its documented lift, tubing and destination requirements.
- No verified hose route: plan for accessible bucket emptying while you resolve placement and disposal.
Use this as a routing checklist, then work through the model-specific checks below. A pump label does not confirm that the complete route will work.
Use gravity only where gravity can work
A gravity outlet needs a continuous route to a lower approved destination. Avoid upward loops, crushed sections and hose layouts that trap water. The exact outlet, required adapter and hose specification come from the appliance manual. A product described as supporting continuous drainage does not necessarily include a pump or allow discharge above its own outlet.
Before relying on a gravity route, observe actual drainage during normal operation and inspect the connection for leaks. Follow the manual's bucket-position instructions; some units still require the collection bucket to be correctly seated even when a hose is connected. Do not bypass a switch to make a configuration run. See hose compatibility for the fitting checks that should precede installation.
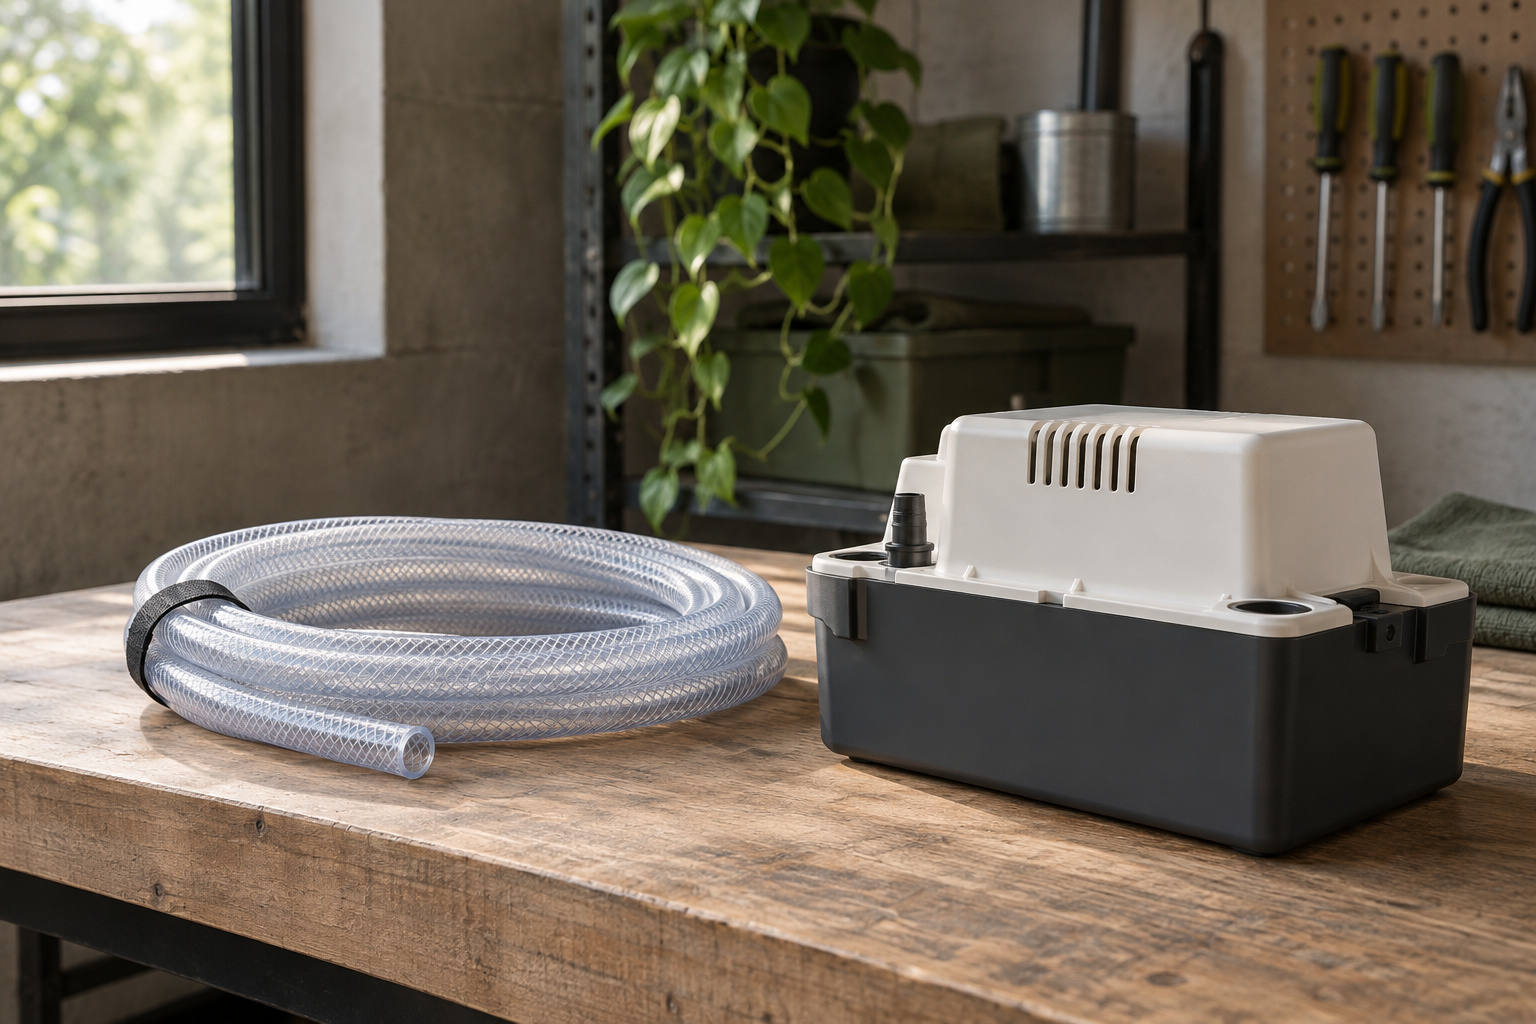
Treat pump operation as model-specific
A pump may allow discharge to a higher destination, but only within its documented lift and installation requirements. Use the tubing and connectors approved for that exact model. The GE APEL50 / APEW50 / APER50 manual in our sources describes a dedicated pump connection and activation sequence; it is an example of why a pump hose should not be confused with a gravity-drain garden-hose connection.
Do not apply that manual's instructions or lift figure to another GE model, another generation or another brand. Find your own model's manual and identify when the pump starts, what warning indicators mean and what happens if it cannot discharge. A built-in pump is not a guarantee against spills, blockage or the need for periodic inspection.
Compare ongoing work, not just initial convenience
Bucket collection avoids a long hose route but creates a regular emptying task. Consider access, the weight you can comfortably carry and where you will dispose of the water. Do not disable the full-bucket mechanism to extend operation. Gravity drainage has fewer active components but still needs a clear route and a secure fitting. Pump drainage adds tubing and pump maintenance to the checklist.
A realistic choice matches how often someone can inspect the basement. If you travel frequently, discuss monitoring and drainage reliability with the equipment supplier rather than assuming the word automatic means unattended indefinitely. Read cleaning and maintenance to include the bucket, filter and any documented pump strainer in your routine.
| Method | What it needs | Recurring task |
|---|---|---|
| Bucket | Access and a place to dispose of water | Regular emptying; never disable the full-bucket stop |
| Gravity hose | Continuous route to a lower destination | Keep the route clear and the fitting secure |
| Pump | Documented lift, tubing and connectors | Tubing and pump maintenance |
Commission the complete installation
Follow the exact setup instructions, confirm the selected operating mode and watch a complete water-disposal cycle. Inspect the hose along its length and verify that the destination receives water without backing up. If the pump only starts at a particular bucket level, an initial delay may be normal; use the manual rather than repeatedly disconnecting tubing to investigate.
If water appears on the floor, stop and address the problem safely. Do not reach through water to an electrical plug. Keep hoses away from cords and connections, as ENERGY STAR advises. Our pump-listing shortlist is a way to find products for further research, not a statement that their included parts fit your route or drain.
Write a handover note for household members
If another household member will inspect the installation, leave a short note identifying the chosen drainage mode, normal destination of the water and indicators described in the manual. Include the model number and where instructions are stored. Avoid a vague instruction such as keep it running, which could encourage someone to bypass a shutdown without understanding its cause. For a bucket setup, explain how the container seats and where it can be emptied. For a hose setup, identify the connection and visible route that should remain clear. For a pump, point to the documented activation and error instructions rather than inventing a universal restart procedure. Keep the note specific to the installed appliance. After furniture moves or storage is added, walk the route again. A box can crush tubing or hide a slow leak even though nobody changed the appliance itself. Treat a new wet patch as a reason to stop and investigate safely, not as evidence that the machine needs a lower humidity setting. Continuous drainage reduces one task but does not eliminate inspection. Make sure everyone knows whom to contact if a problem cannot be resolved safely.