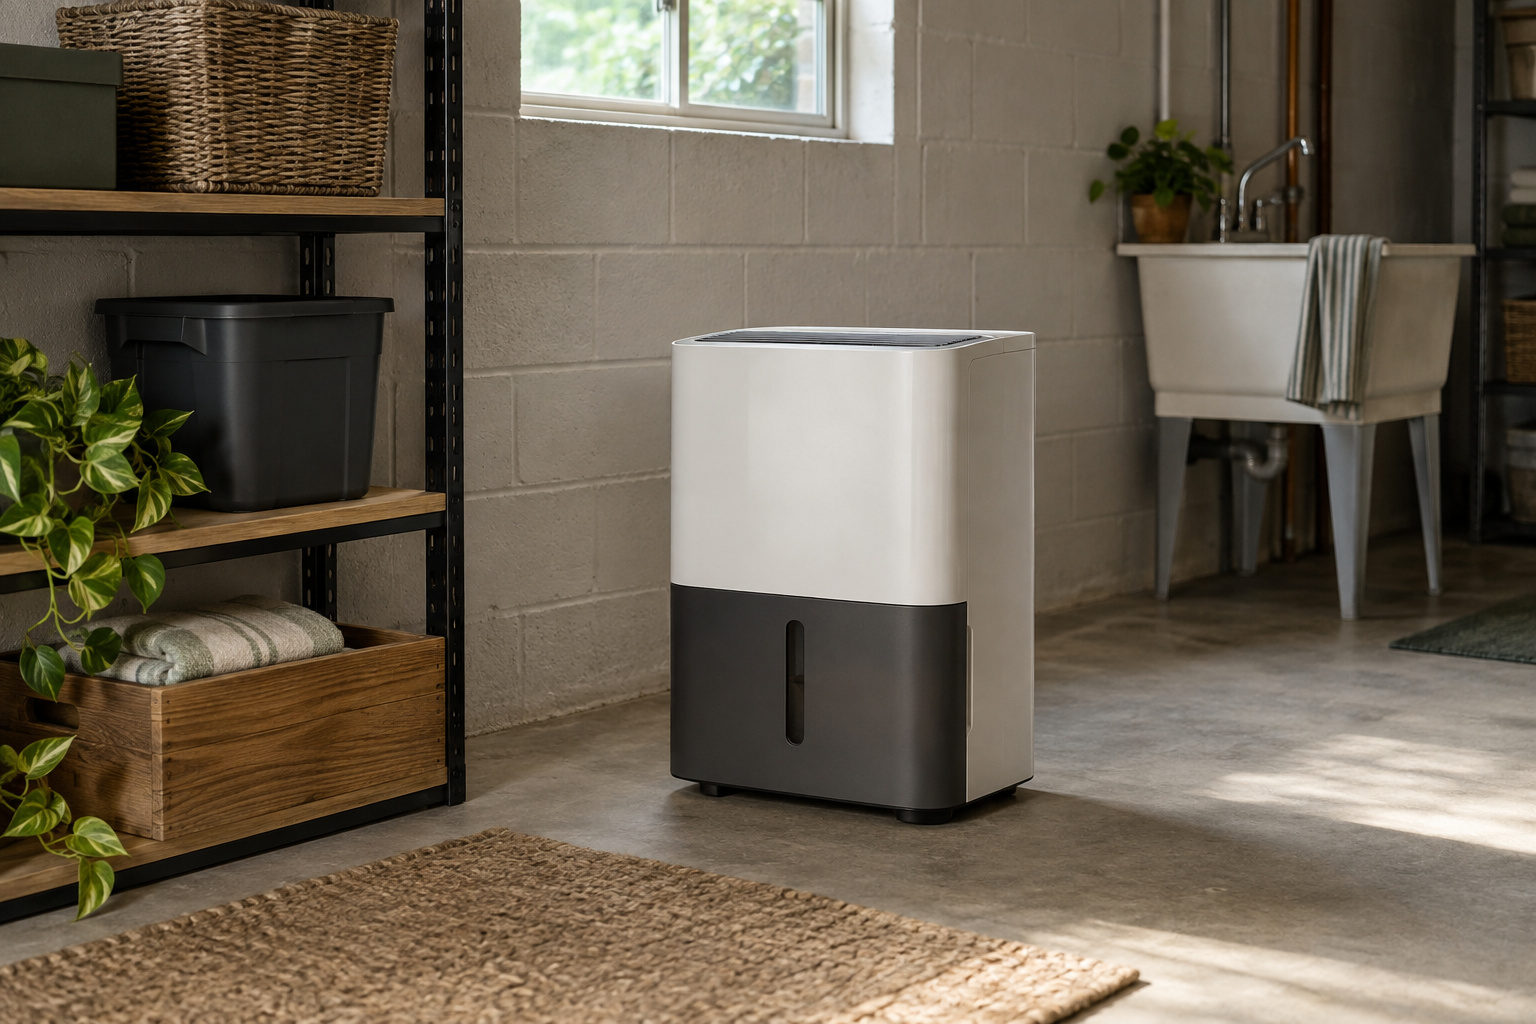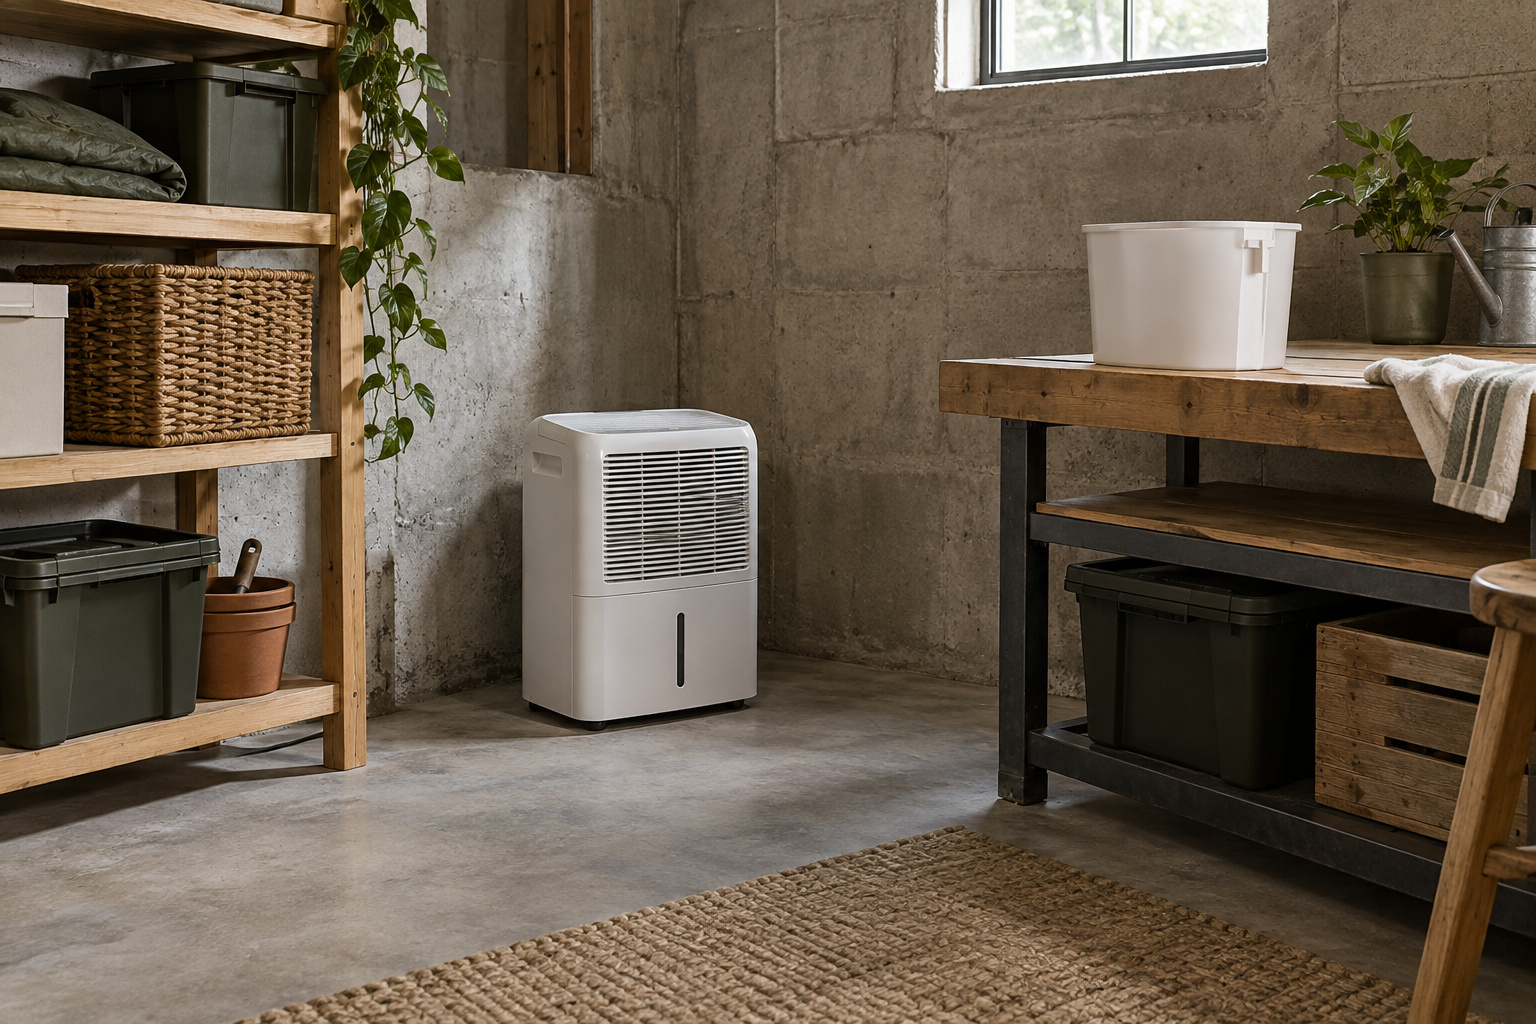
The best-looking empty corner may be a poor operating location. A dehumidifier needs access to the air you want to dry, clearance around its intake and discharge, a safe electrical connection and a workable water-disposal route. Plan all four together before rolling the appliance into position.
Start with the exact clearance diagram
Short answer A dehumidifier needs access to the air you want to dry, clearance around its intake and discharge, a safe electrical connection and a workable water-disposal route. Plan all four together before choosing the spot.
Find the placement section in the manual for your model identifier. Record which faces contain the intake and discharge and what clearances are required. Do not apply a general statement about top-discharge units to a machine whose manual requires more space on every side. Furniture, boxes, curtains and laundry can obstruct airflow even when the cabinet itself fits neatly into a gap.
The GE APEL50-family manual in our sources gives an explicit all-side clearance for those models. That example demonstrates why we avoid publishing one universal spacing number for every listing. Use its requirement only if your appliance is actually covered by that manual. Keep the diagram with your installation notes so storage does not gradually move back into the clearance area.
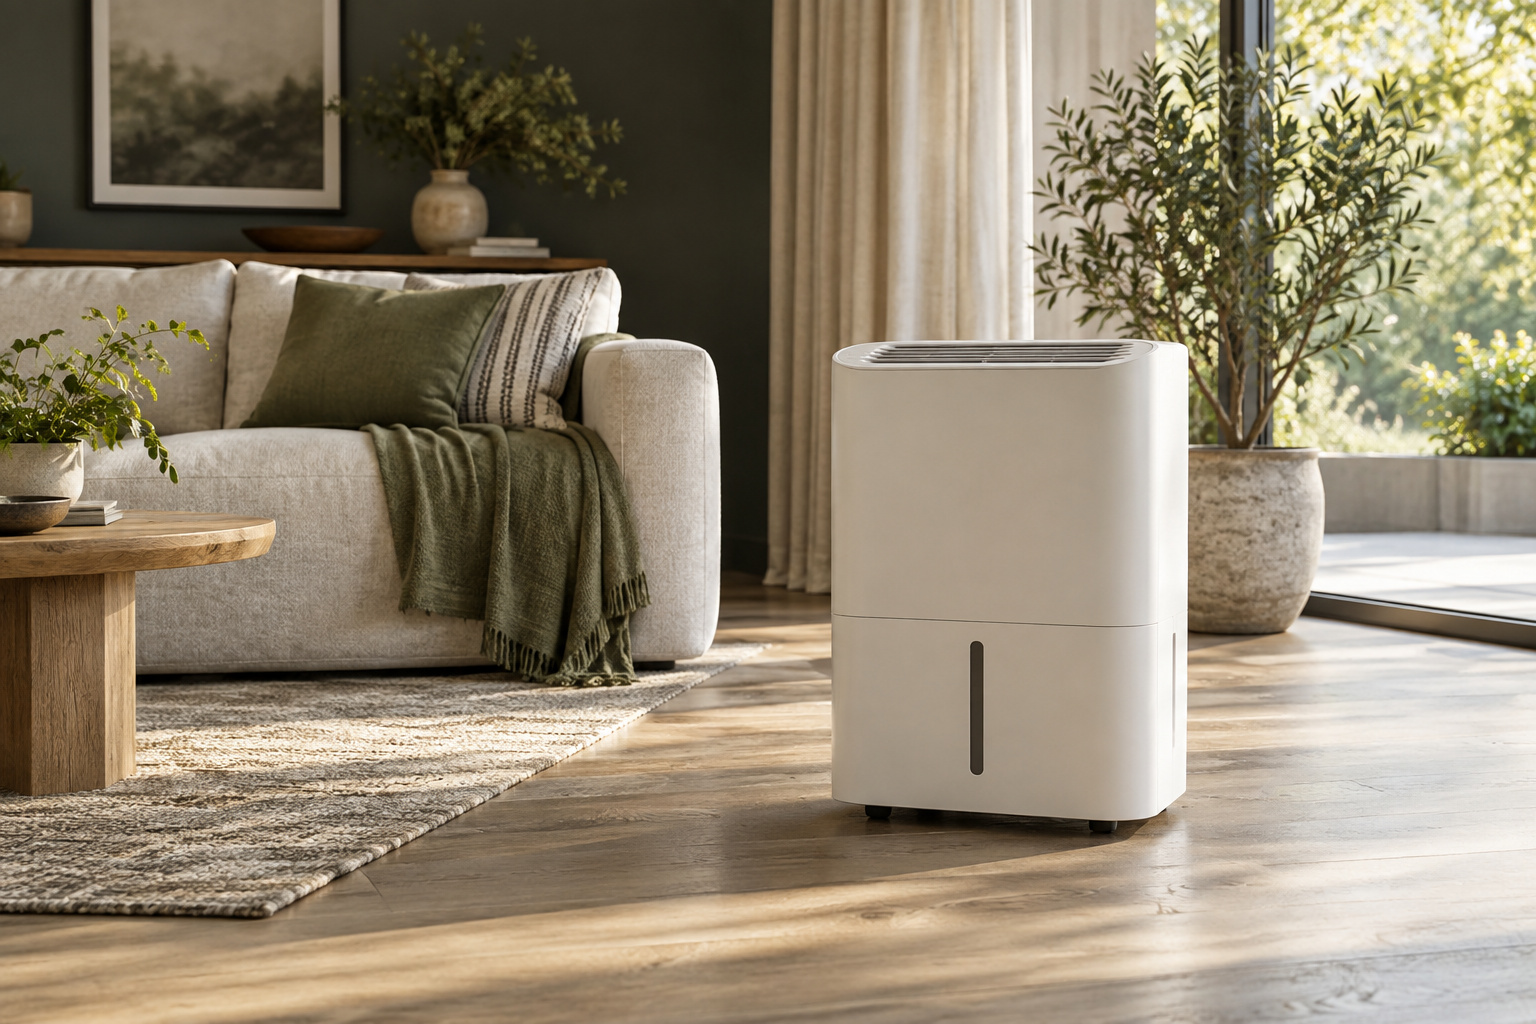
Connect the appliance to the damp rooms
Sketch the room layout and mark the areas with persistent humidity. A unit in the main basement may have limited effect on an adjacent enclosed closet without adequate air circulation. Positioning it centrally on a drawing does not ensure that air can move through closed doors or packed shelving.
Measure humidity in representative areas after setup instead of relying only on the appliance display. If one room remains different, investigate its circulation and moisture sources. Read humidity targets for measurement practice and sizing before concluding that the unit is too small. Several isolated spaces may require a different distribution strategy rather than a simple move of a few feet.
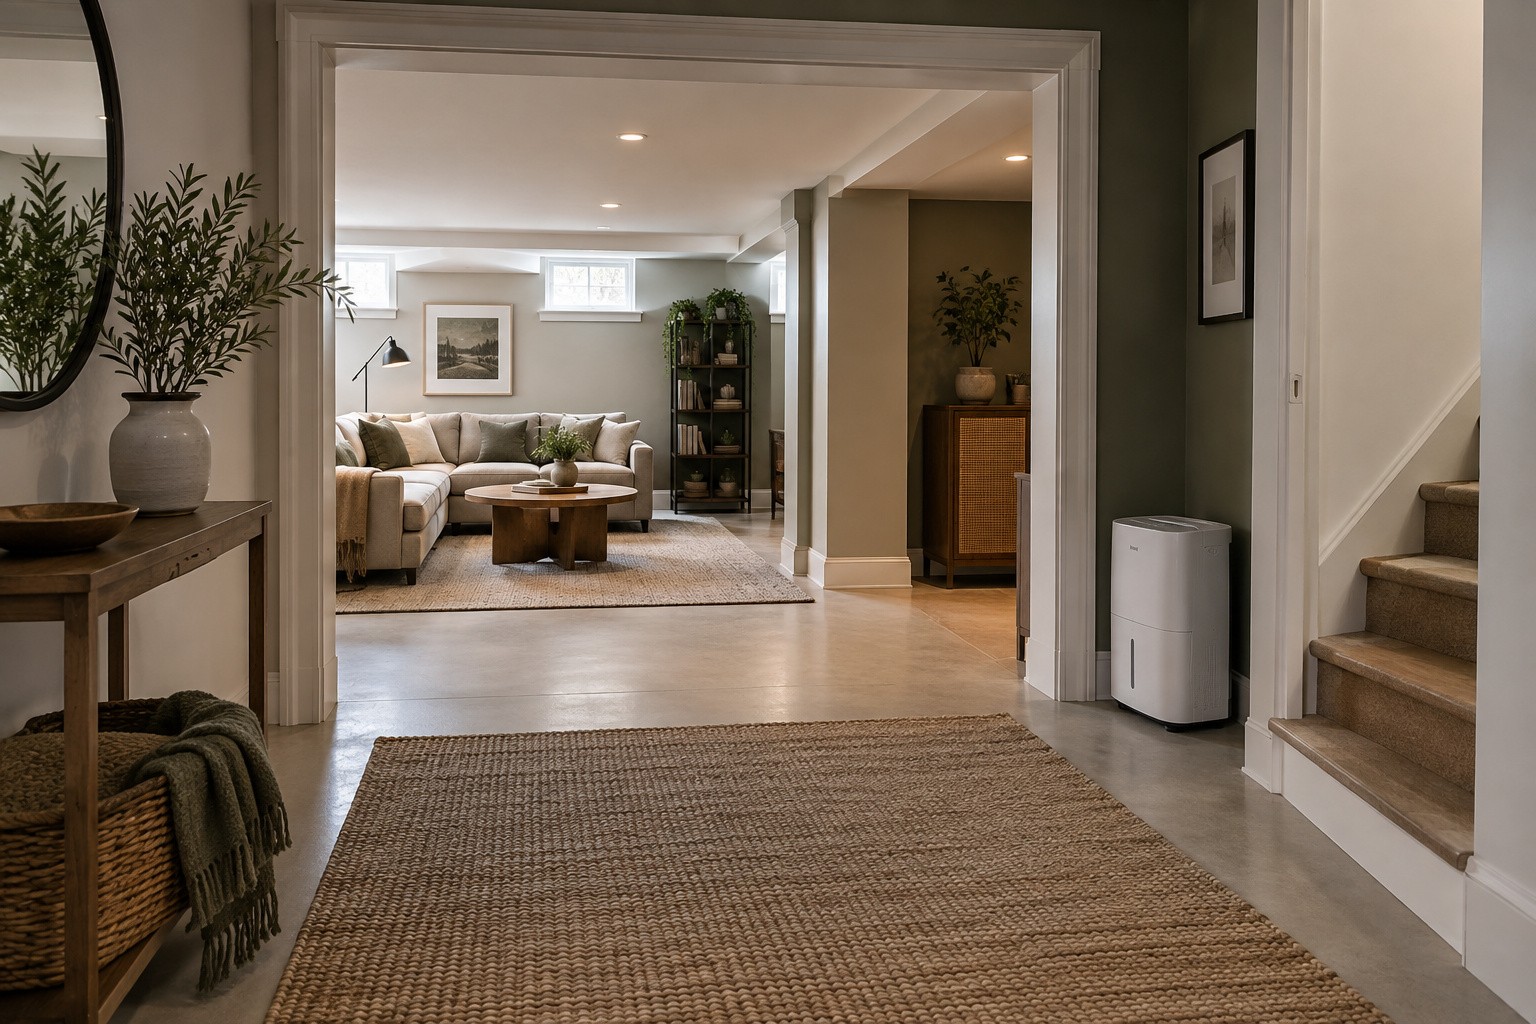
Keep electricity and water handling separate
Follow the electrical instructions for the exact unit. ENERGY STAR advises a properly grounded outlet and keeping drainage away from electrical circuits and devices. The GE manual used here prohibits extension cords and multi-outlet adapters for its listed models. Do not modify a plug or improvise an electrical solution when the intended location does not meet the instructions; obtain qualified help.
Never operate equipment where standing water is likely to accumulate. A dehumidifier is not a pump for removing floodwater. Mark the cord and hose paths on your plan so they do not cross a walkway or become trapped under storage. Safe access to the controls and plug matters during an unexpected shutdown as well as during ordinary use.
| Requirement | What to check |
|---|---|
| Airflow | Exact clearance diagram; intake and discharge faces |
| Damp rooms | Air circulation to closets and closed rooms |
| Electrical | Grounded outlet; GE APEL50 family prohibits extension cords |
| Drainage | Lower destination, or documented pump lift |
| Service space | Room to slide out the bucket and reach the filter |
Choose a drain route without sacrificing airflow
For gravity drainage, the destination must be suitable and lower than the outlet, with the route arranged according to the manual. Avoid an uphill loop created just to conceal the hose. For a pump, verify the supported lift, tubing and connection, and leave access to the parts you will need to inspect. Read the drainage comparison before selecting a final position.
Bucket users need room to slide out the container and carry it without bumping furniture. Include that movement in the layout; the appliance footprint alone does not describe its service space. Keep the floor smooth, level and able to support the full operating unit as required by its instructions. Do not construct an improvised unstable platform simply to gain drain height.
Review the location after normal use
Observe the appliance during operation and a normal water-disposal cycle. Check for obstruction, leakage and any change in the room routine that affects access. Dusty workshops and laundry areas can create extra filter-maintenance demands; ENERGY STAR recommends locating away from dust and dirt sources. Keep the manufacturer's cleaning instructions within reach.
Recheck the layout after adding shelves, moving stored items or changing the basement's use. A position that worked in an empty room may no longer have its required clearances. Our cleaning guide helps establish a routine, while the troubleshooting guide connects persistent humidity to building conditions. Placement is an operating requirement, not a one-time cosmetic decision.
Check the installation as a complete room layout
Before finalizing the position, rehearse ordinary tasks with the appliance off:
- Controls: reach them.
- Bucket: slide it out.
- Filter: access it.
- Hose: inspect the connection.
Make sure each action can happen without shifting heavy storage into the airflow space or pulling against tubing. This rehearsal can reveal access problems that a floor-plan measurement misses. Think about how the room is actually used. A laundry basket, folding table or seasonal storage box may occupy the apparent clearance area several days a week. Mark that area as operating space and discuss it with other people using the basement. A location that depends on everyone remembering to move a pile before every cycle is unlikely to remain practical. After the installation has operated normally, record its position and the manual clearance requirements. If persistent humidity leads you to move it, change one condition at a time and continue the room log. That gives you a way to assess the effect of placement without confusing it with simultaneous changes to settings, drainage and room access. Save the layout so the same constraints are considered when rearranging the basement later.