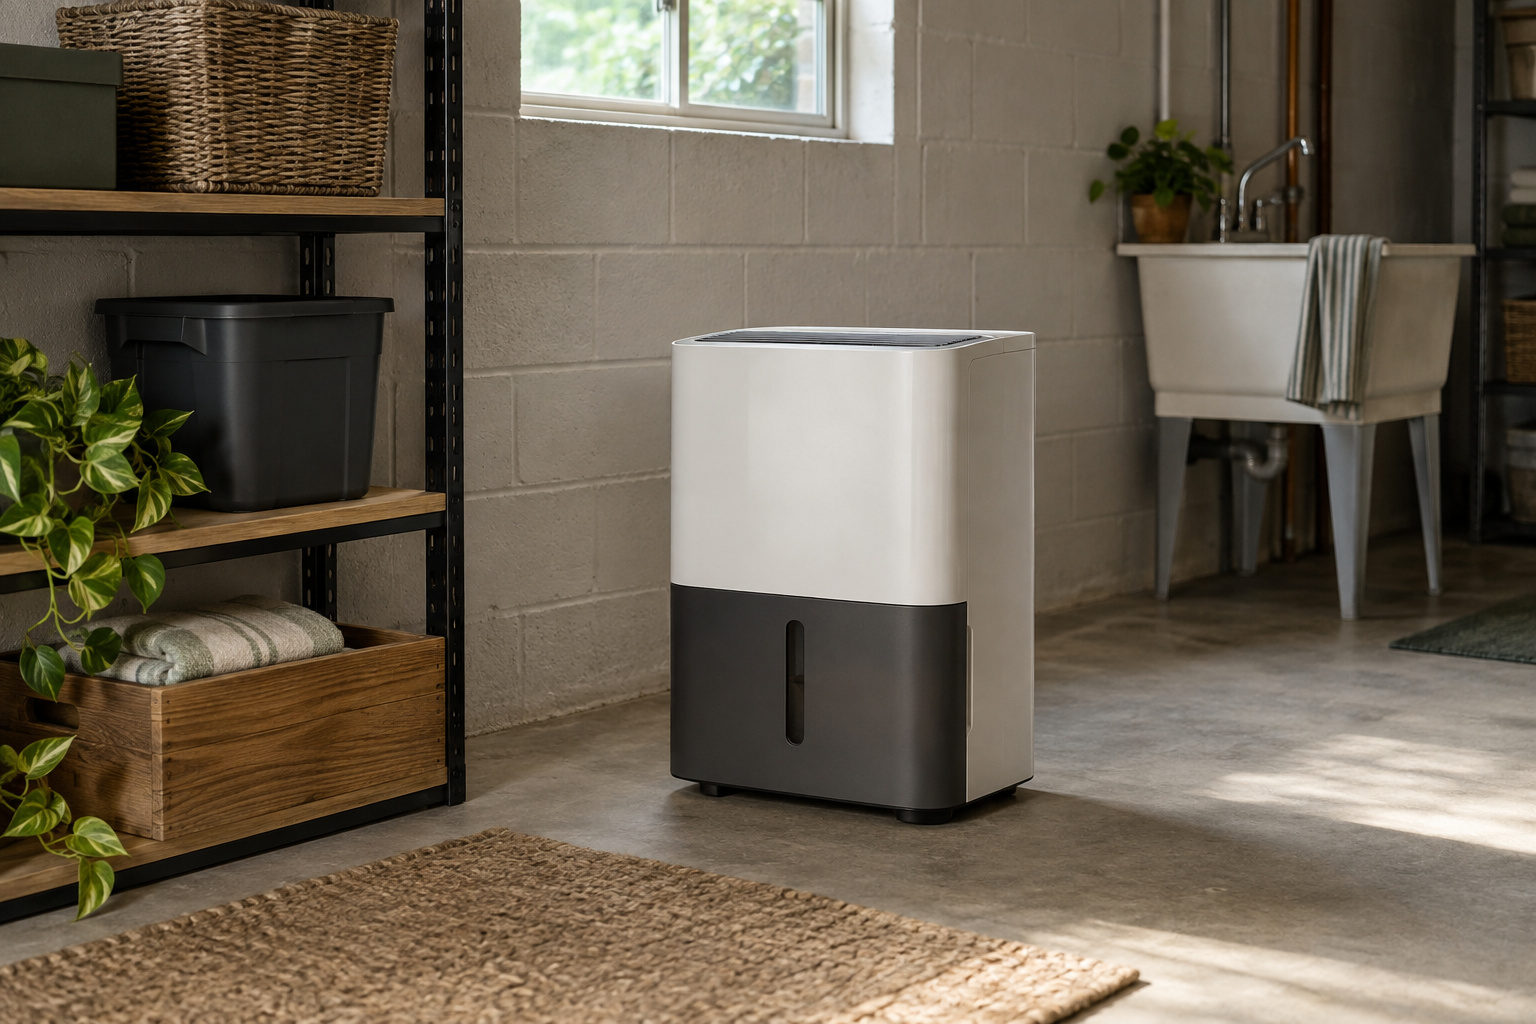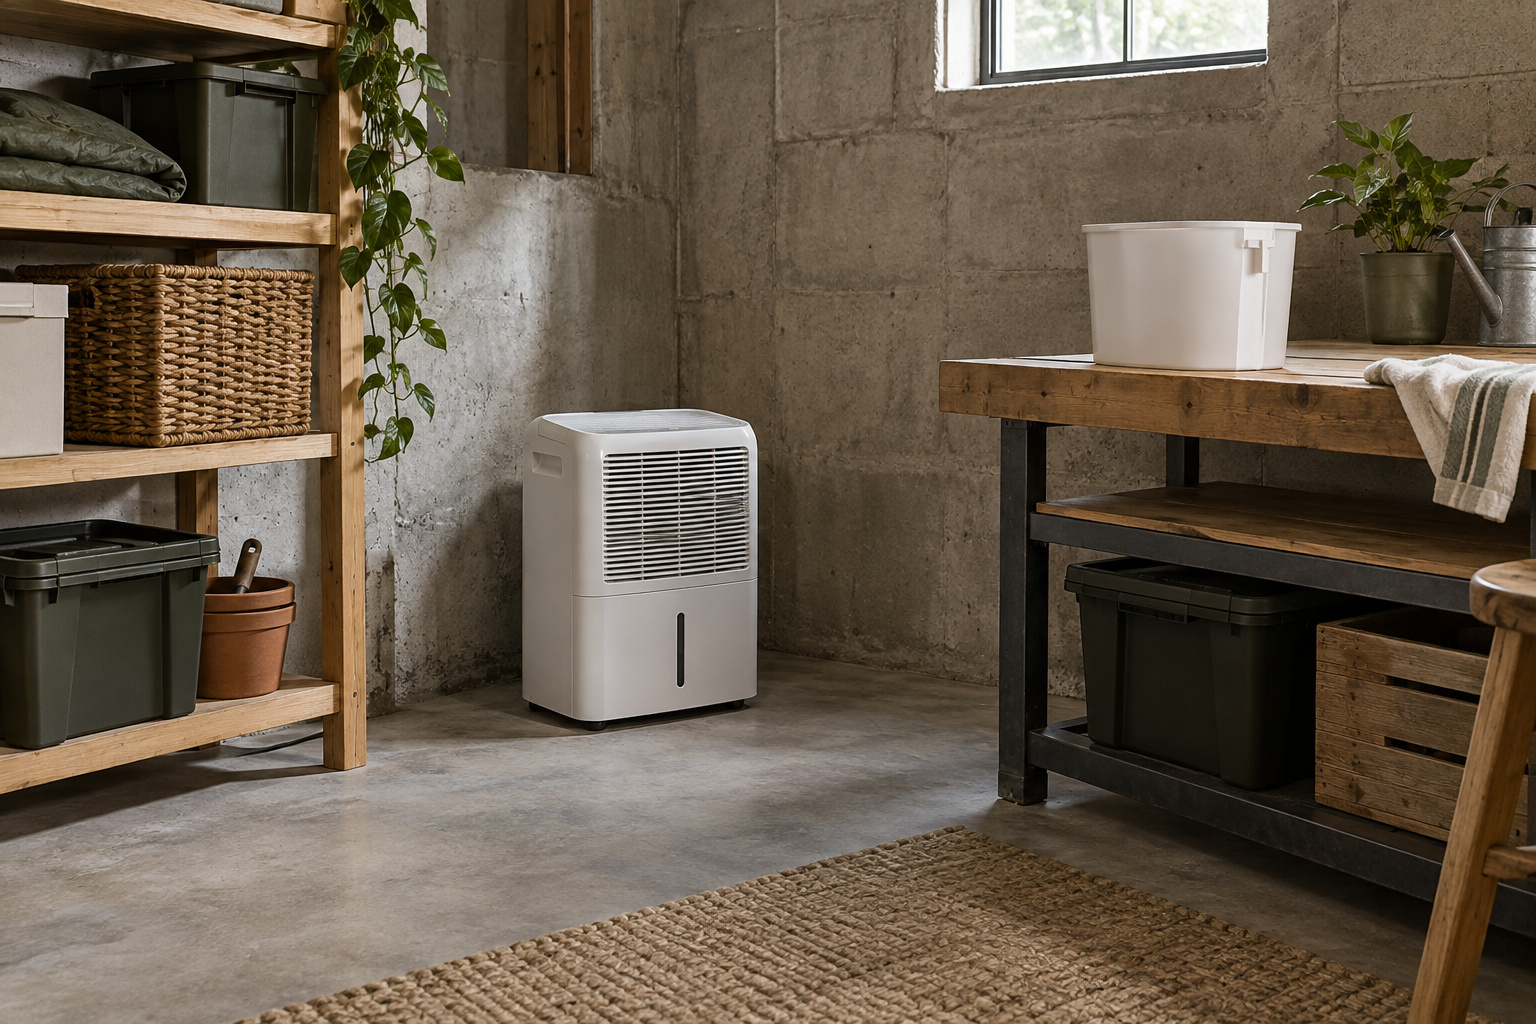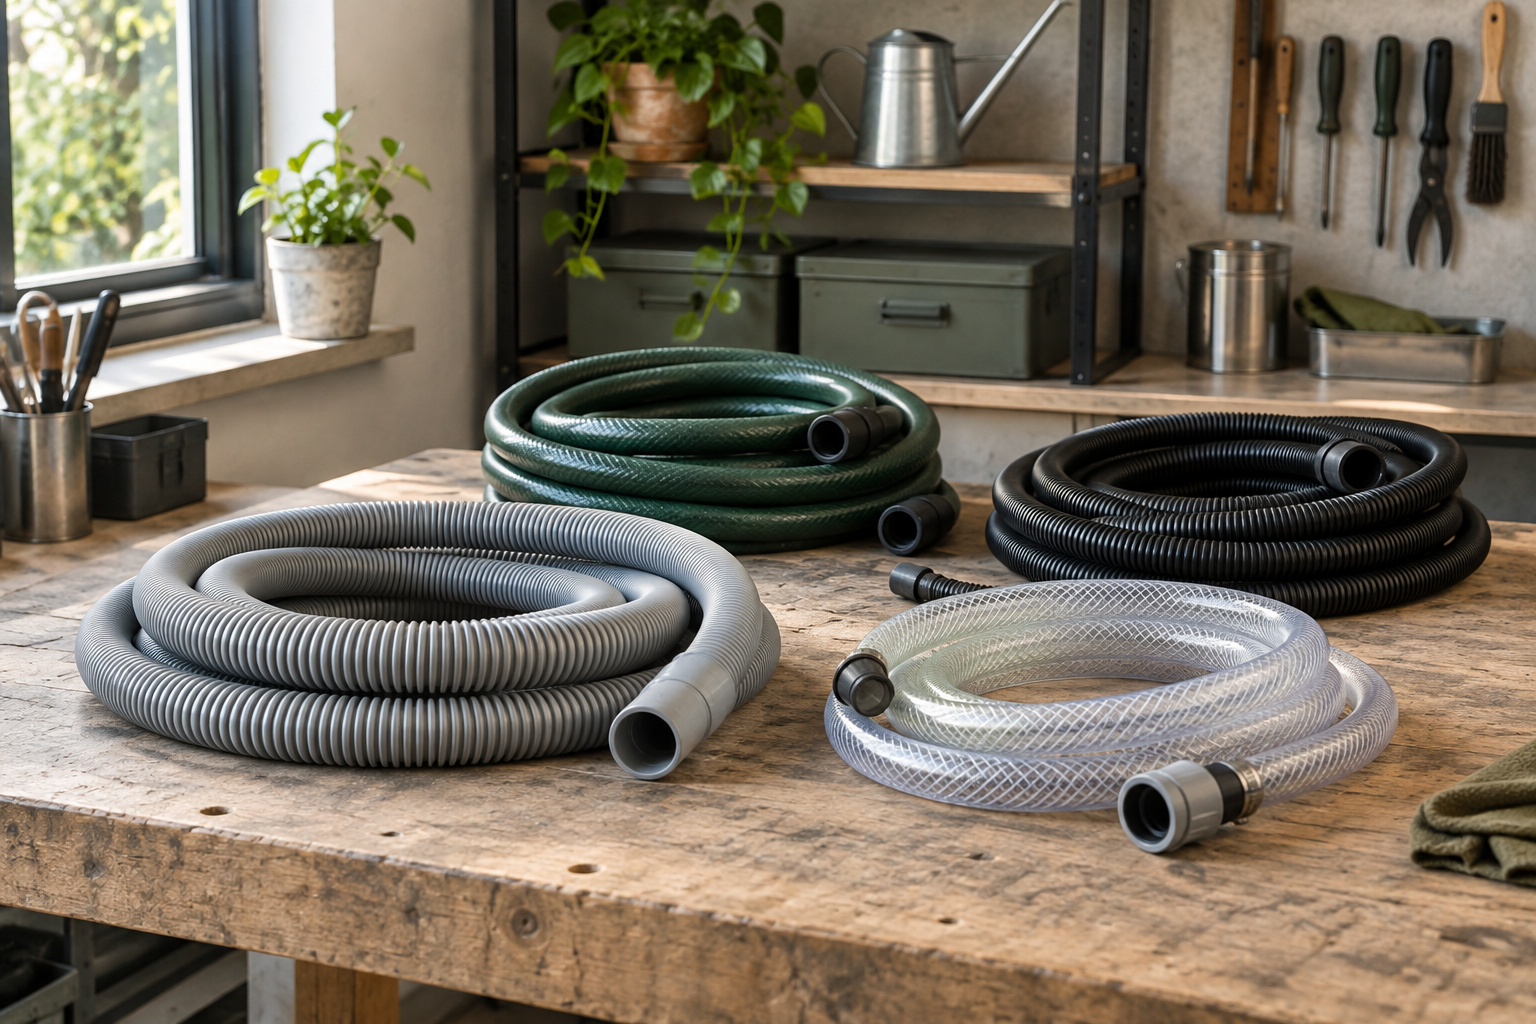
A hose can look right and still be wrong for the connection. Dehumidifiers may have separate gravity and pump outlets with different fittings, tubing and instructions. Begin with the full appliance model and a diagram of the intended port. Treat every accessory as an exact compatibility question rather than an assumption based on brand or appearance.
Record the appliance and drainage mode
Copy the full model identifier from the rating label and compare it with the manual cover. Include suffixes and regional variants. Next, identify whether you intend bucket collection, gravity drainage or pump discharge. A machine that supports more than one method may require different connections and control settings for each.
Take a clear photograph of the port while the appliance is safely off and accessible, but do not rely on the photo alone to infer thread size or tubing dimensions. Find the manufacturer's diagram and part reference. Our drainage guide explains the operating difference; this guide focuses on proving that the parts belong to the selected method.
Distinguish a gravity fitting from pump tubing
A gravity fitting may use a threaded hose connection, while a pump outlet may use a smaller push-fit tube. That distinction appears in the GE APEL50-family manual used in our research. It does not establish the fitting standard for every dehumidifier. Check the dimensions, required adapter and sealing components in your exact instructions.
Do not force a hose onto a similar-looking connection or compensate for a mismatch with improvised sealant. Threads can appear to engage before leaking or damaging the outlet. If the documentation is ambiguous, ask the manufacturer for the approved part number and connection details. Save that answer with the order so future replacement does not require repeating the guesswork.
| Outlet | GE APEL50-family example | For other models |
|---|---|---|
| Gravity | Threaded hose connection | Check the exact instructions |
| Pump | Smaller push-fit tube | Check the exact instructions |
| Either | Required adapter and sealing parts | Ask for the approved part number |
Check the complete accessory description
Read:
- Models: the supported-model list.
- Adapters: the included adapters.
- Tubing: the tubing dimensions.
- Exclusions: any installation exclusions.
A seller title that says universal is not sufficient evidence that the accessory fits your appliance. Compare the full part identifier rather than only a photograph or an approximate diameter. Verify whether the order includes the washer, connector or retaining piece your manual requires.
Our accessory comparison separates direct accessories from whole appliances. The products are documentation-rated research options, not certified pairings with dehumidifiers elsewhere on the site. Seller-provided features remain seller claims. When a part is intended for a different model or a different drain mode, remove it from your shortlist even if its price or length seems attractive.
Match the hose to the route
Measure the required route without assuming that a longer hose is always more flexible. Gravity drainage needs a continuously suitable downhill path. Pump discharge must stay within the documented lift and other installation limits. Avoid kinks, crushed sections, sharp bends and routes that create a tripping hazard or pass through electrical connections.
Use the placement guide to keep both airflow and drainage workable. If the route crosses a cold area, review the appliance and tubing temperature requirements. Do not substitute an arbitrary hose length into a pump configuration and claim the same performance. The full system includes the outlet, connector, tube, elevation and destination, not just the fitting at the cabinet.
Install, inspect and keep the part record
Follow the approved connection sequence and verify that the hose is secured as instructed. Some push-fit arrangements have a specific release mechanism; pulling harder is not a substitute for reading it. Confirm the correct bucket position and pump setting where applicable. Watch an ordinary discharge cycle and inspect the entire route for leaks before relying on continuous drainage.
Include the hose and any user-serviceable strainer in the maintenance routine described in our cleaning guide. Keep the package label or part number with the appliance manual. If a leak, blockage or repeated pump error develops, stop and follow model-specific troubleshooting rather than bypassing the controls. A verified connection at purchase still needs inspection as tubing ages or the basement layout changes.
Make a parts record before discarding the packaging
Write down the purchased accessory part number, supported-model statement and source of the compatibility confirmation. Store a photograph of the package label with your appliance manual. If the seller supplied several adapters, identify which one the manufacturer approved for your configuration and keep unused pieces labeled rather than treating them as interchangeable spares. Record the installed route and any manufacturer limits that affected the choice. A future replacement hose should be checked against the same requirements, not ordered solely by matching the old tube appearance. If the appliance itself is replaced, repeat the compatibility check even when the new model has a familiar brand name or cabinet design. This record is useful when a small connector becomes damaged or a hose must be rerouted around new storage. It provides a starting point for an exact replacement request and makes clear which parts have never been verified. Keeping evidence of a fit does not prove the installation will remain leak-free, but it prevents avoidable guesswork when the system needs attention. Keep inspection and replacement dates with the same record so the age and history of installed tubing are visible.